Processing Rice

by Dean Gunderson

This is the second Part of our series on growing and processing rice.  To learn how to grow your own rice check out our blog post on it here.

So the rice is grown, the plants are harvested and have been dried, but now what?  How is this dried grass plant turned into a bowl of delicious cooked rice? Well with the right tools, the right know-how, and a little bit of elbow grease it’s possible to grow rice starting from seed and ending in any rice dish desired.

Fully dried rice bundles ready for processing

When it comes to processing rice there are three main steps.  In order, those steps are to thresh the rice, dehull the rice, and finally to winnow the rice. Threshing is the process of removing the seeds (the grain) from the rest of the plant (the straw).  Dehulling is taking the hull, which is the papery straw-colored covering that surrounds each individual rice seed, off of the grain. Winnowing is separating out the grain from the chaff, which is the name for the hull once it’s been removed from the grain.  So let’s start at the beginning.

All that’s required to thresh grain is a little force.  There are many ways to thresh rice but probably the easiest way for garden scale production is the trash can method.  For this all that is needed is a trash can or some other large container. Grab a small bundle of dried rice plants and hold them about halfway up the stalk with the top of the plant, where all the seeds are, inside the trash can.  Then vigorously move the bundle of rice back and forth hitting the inside walls of the trashcan until the grains have been knocked off into the trash can. After doing a couple of bundles you will get a feel for how fast to move the bundle and how much force to hit the sides with.  It does require a fair amount of force so don’t be timid about it.

Image showing two bundles of rice.  One before and the other after threshing using the trash can method.

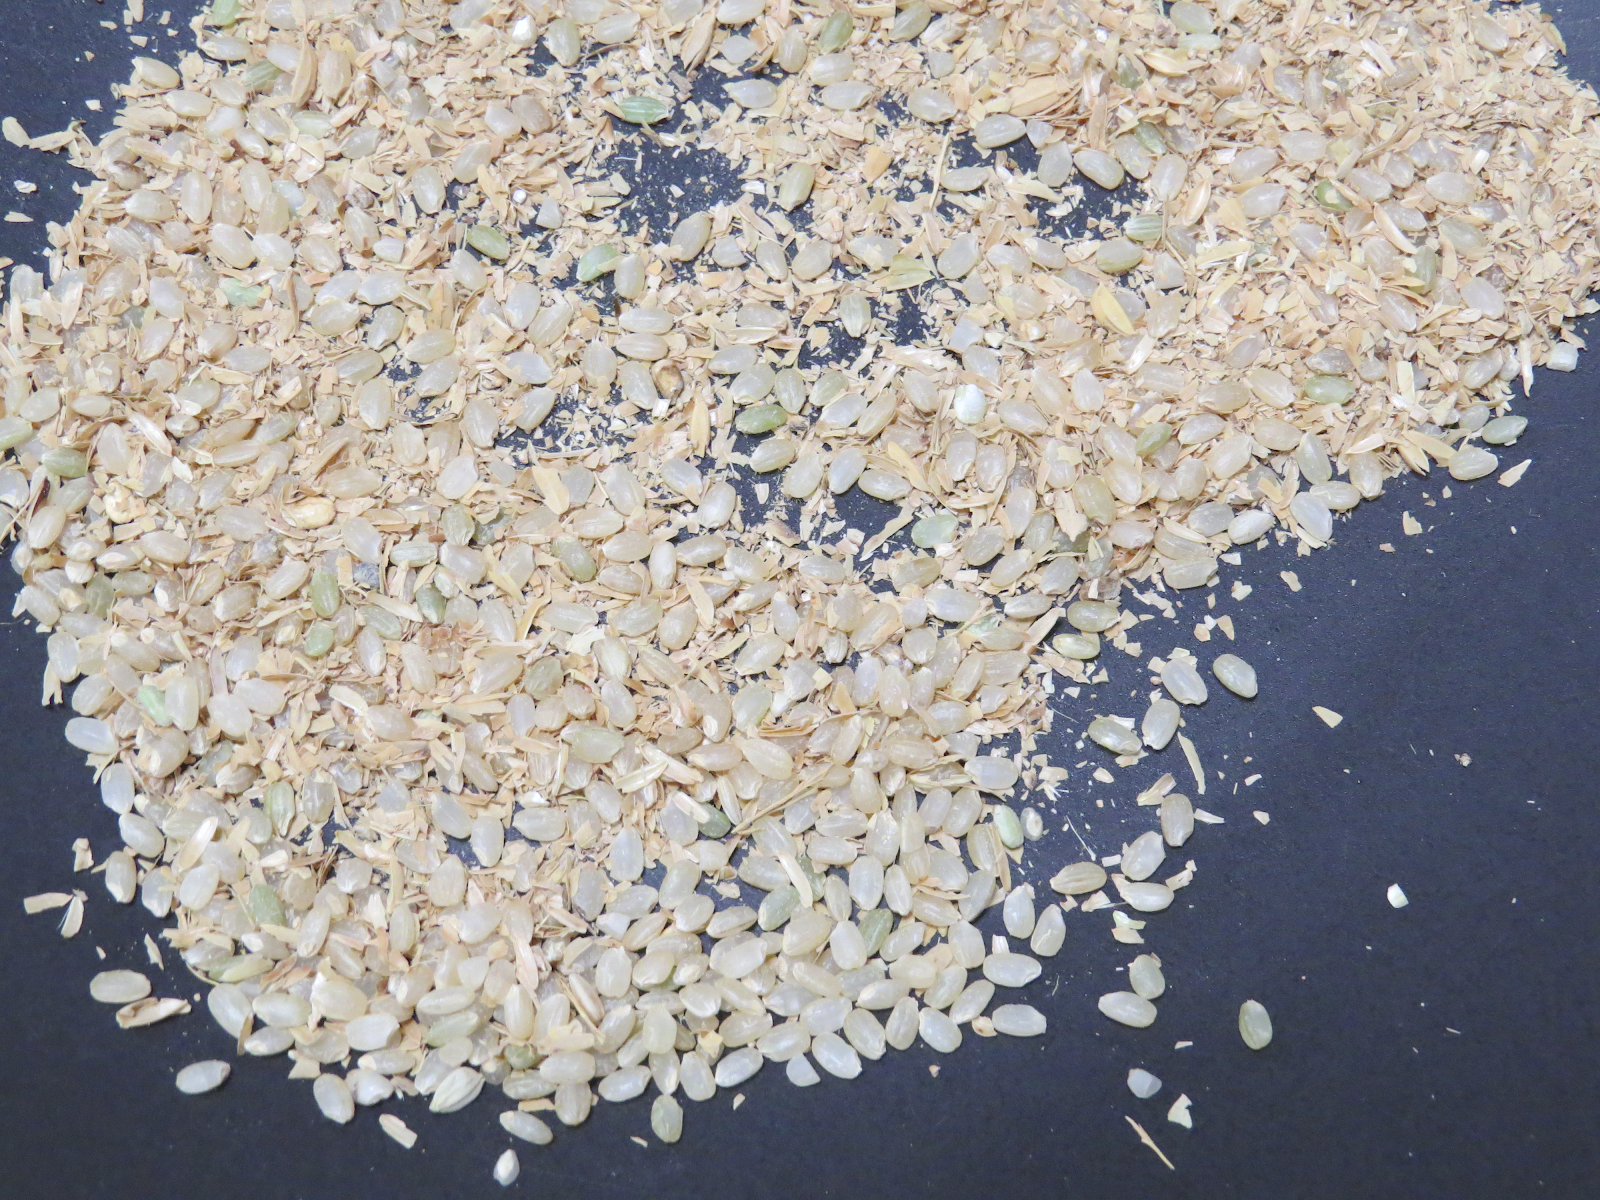
Rice bundle before (left) and after (right) threshing using the trash can method

There are plenty of other ways to thresh rice that can be tried if desired.  One way is to cut a length of old garden hose and while holding the rice inside a trash can beat the seeds with the piece of hose to knock them off.  Just beating the plants on the ground is another easy way to do it and the main way people have threshed grain since the beginning of agriculture. The main downside to this method is the seeds will often go flying and make a mess.  Another way that is particularly fun if working with kids is to put the dried plants on a tarp and cover them with another tarp or the other side of the same tarp. Then have the kids walk or stomp all over the plants. This force will knock the seeds off the stalks.  The main downside to this is that it takes more work to separate the seeds from all the straw.

Now to the hulling.  Hulling requires the twisting, rubbing, or grinding of the seed with just enough force to rub the papery hull off but not grind the grain into flour.  There are theoretically ways to do this without anything special and there are a lot of ideas on how to do this online. The internet suggests everything from rubbing it between the palms of the hands, laying the seeds on the table and rubbing them with a cutting board, twisting them on the ground under foot, a mortar and pestle, and on and on.  We feel comfortable saying that all of these techniques are great and will work fine……if the goal is to eat a tablespoon of rice. Staff and Gateway Elementary students tried all these ideas. Even energetic kindergarteners stomping on the rice yielded only a small cup of rice. 

Students helping to thresh rice by jumping on it sandwiched between two tarps
Students helping to hull rice by jumping on it sandwiched between two tarps

Luckily one of our AmeriCORP VISTAs Evelyn, was able to find a solution.  She was able to design, build, and write instructions on how to make a simple but really effective hand crank rice dehuller out of a cheap grain grinder, some rubber, and glue, for less than $30. So have a look here, do yourself a favor, and just build one of these, it’s pretty simple. 

Using the DIY grain dehuller

If you have any questions we are happy to help. The building instructions also have detailed instructions on how to use it. Essentially though it works by putting the unhulled rice in the top and cranking the handle until it all comes out and then run the same rice through again two more times and it is all dehulled and ready for the final step.

Now the last step is winnowing the grain from the chaff, which is just cleaning the grain.  Chaff is very light and airy whereas the grain is relatively heavy. So the chaff just needs to be blown off.  There are two main ways of doing this and which method to use is up to personal preference and the quantity of grain to be winnowed.  If there is only a cup or two of dehulled rice the easiest way is usually to put it in a big bowl. Take the bowl of rice and chaff outside and while constantly swirling it inside the bowl forcefully blow into the bowl.  The chaff will blow up and out and the heavier grain will remain. Keep doing this until all the chaff is gone.

Dehulled rice ready to be winnowed

The other method is the most common method and the best if there is more than a cup or two.  This method requires two large containers and a breezy day. Although it’s best to do this outside because it can get messy if you want to do it inside a fan can replace the wind.  Hold the container with the rice and chaff about 18” or so above the empty container, which should be sitting on the ground, and slowly pour it into the empty container. The heavy rice grains will drop into the container but the lighter chaff will get carried away by the breeze.  Keep pouring the rice and chaff mixture from one container to the next, increasing the distance between the two as you feel comfortable. Then once the chaff is blown off all that will be left is the ready to cook rice.

Now also don’t forget to use all that straw and chaff from the rice processing.  The straw and chaff are great mulches for the garden, suppressing weeds and conserving moisture in garden beds.  In addition to its use as mulch, the chaff can also be used to make seed starting mix, which is used to start seeds indoors.  Mix 1 part rice chaff with 2 parts coco coir, which is a waste product of coconut farming, to make a good, sustainable seed starting mix. 

I forgot, there is actually one more step left to process the rice, the most important step!  Now it’s time to cook and eat some homegrown and processed St. Louis rice. Enjoy!

How to Grow Rice in St. Louis

by: Dean Gunderson

Do you want to grow something totally different in your garden next year?  Something that will surprise everyone who sees it? How about rice?

This year, we grew rice at our Demonstration Garden and Lucy, our School Programs Manager, grew rice at the Gateway Elementary school garden.  Would you believe that the rice did great at both places?

When most people think of growing rice, they imagine a large flooded field somewhere in the humid tropical lowlands of Asia or whole mountainsides terraced so they can hold water to grow rice.  Although rice is originally from East Asia it is grown all over the world and not just in the tropics either.  In fact, Missouri is a major rice producer and it’s grow in places as far north as Russia, Poland, and northern Vermont.


Although people assume all rice needs to be grown in flooded conditions rice is actually a remarkably adaptable crop.  In addition to being able to grow in flooded conditions it can grow where the field is alternately flooded and dry and there are even types of rice, called upland rice, that grow just off of rainfall in fields just like corn and wheat.  

Because of its adaptability, you can grow rice in your own backyard here in Missouri.  You won’t get much rice unless you’re growing in a large area, but that shouldn’t stop you because there are many reasons why you should grow rice.

Rice is particularly a great plant to grow with children; it’s really easy to grow, has virtually no weed problems because of the flooding, and matches well with the school calendar.  It’s also just fun to grow grain.

Read on to find out how we grew flooded rice and how you can too!

HOW TO GROW RICE

The first and most important step is getting the right variety.  We started with a “japonica” rice variety, which is more adaptable to our northern climates because it is triggered to produce seed by day length, not by the length of the warm season.  This ensures you will get a crop, whereas if you grow traditional varieties there is a chance that you won’t get any grain at all. The variety we grew is called Koshihikari, which we purchased from Kitizawa Seed.  We now also sell the seed ourselves and you can get it at our Carriage House on Saturday’s or at our office Monday-Friday.  

Next, decide what type of “paddy” you will grow your rice in.  Koshihikari is a flooded rice, so you will need something that will retain water.  Whatever you plant it in will need to be at least a foot deep and watertight.  You can grow in containers like 5 gallon buckets, plastic tubs, old bathtubs, whatever you have that’s deep and watertight.  If you want to make a large area, a specially-made raised bed is your best bet, which is what we decided to do.

We built a double high raised bed that was 2’ tall. You can use our construction plans for a double high raised bed which has worked great for us.  If you decide to use a different design, make sure the different layers of boards stay together.

Once we built the bed, we lined the entire inside of the raised bed with three layers of plastic.  We just used a plastic drop cloth, which you can find in the painting section of any hardware store.

After lining the bed with plastic, fill the bed with a good garden soil mix.  For our raised beds, we used a mix made up of 50% topsoil and 50% compost.  

Now that you have your paddy, you’re ready for the easy part: growing the rice!

The best way to do this is to emulate the traditional way the people of Asia have grown paddy rice for thousands of years.  Rice is traditionally grown in one paddy and then transplanted to their final spot later.  Since our season is a bit short it’s best to have your “nursery paddy” inside.  Start the rice indoors in pots around mid April just like you would any other seedling.  Plant at least a few seeds per pot and keep them well watered.  Make sure they have a strong light source and be sure to thin each pot to just one seedling once they have germinated.

In mid-May, flood your rice paddy so that there is standing water about 2” above the soil surface. The next day, reflood if needed (water may have gone down as it fully saturates the soil) and plant your rice into the flooded paddy about 6” apart in rows that are 12” apart.

How do you plant into a flooded field you ask?  It’s really easy. The soil is so saturated you just take the roots of the seedling in your hand and push it into the soil, that’s it.

It was at this point that we started adding mosquito dunks to our rice paddy so that the standing water didn’t turn into a mosquito breeding ground.  Mosquito dunks are an organic way to kill mosquito larvae and can be purchased as granuales or donut-shaped blocks online.  One donut-shaped block lasts 30 days.  They are made up of a specific strain of BT, a bacteria that is toxic to mosquito larvae (but not to people or beneficial insects).

From mid-May until about mid-September, the only maintenance needed is to make sure the paddy stays flooded.  If there are any weeds, pull them out – we had one weed all year.

By early August, you will start to see the seed heads popping up from the stalks.

In September, your seed heads will start to droop.  When they start to droop like this, stop watering your rice.  Let the soil dry out and no longer keep it flooded.

Over the next few weeks, the water level will drop and the seed will turn a golden color.  When the drooped seed heads turn a golden brown and the leaves are still green it is time to harvest.

To harvest, cut all of the stems at ground level.  Lay the plants out on a table or somewhere that has good air circulation, but is protected from birds.  If they are not protected from birds, they will eat all of your rice!

Let it lie out to dry for at least a few weeks, moving the plants around every few days so that it dries completely and doesn’t mold.  When the stems have turned to a straw color, they are ready to process!

To learn how to process the rice into edible grains check out our blog post on that subject here